
Spiritual - Christmas time is the the most wonderful time of the year. It is the time of the year that we celebrate the birth of our King - a King who came down from heaven to become one of us. He came to live on this earth to show us how to live and love one another so that we would be able to live happily and with hearts full of charity, like His, forever and ever with Him. Do we have to grow old and make many, many mistakes to finally "get it?" That's how I have learned just about everything. Give us the grace, O Lord, this Christmas, to continually reflect on this truth and be thankful ... thankful enough to change. We want to desperately.

Sewing - We have a large round table that can seat 8+ people and placemats for this table need to be wedge-shaped so that they don't overlap when placed close enough to fit that many people. I used a holiday polyester fabric on sale at JoAnn's and a thin layer of batting to pad them slightly. Hope you enjoy this tutorial.


I ended up with the pattern on the left for the fabric and for the batting.
Note that I cut the "top" of the placemat on the "fold" of the fabric to save sewing time. Cut only 1 batting piece for each placemat. All seam allowances were 1/2"
 3. Place right sides together and place a single layer of batting on top. Pin well to eliminate any pleats or unwanted folds under the batting.
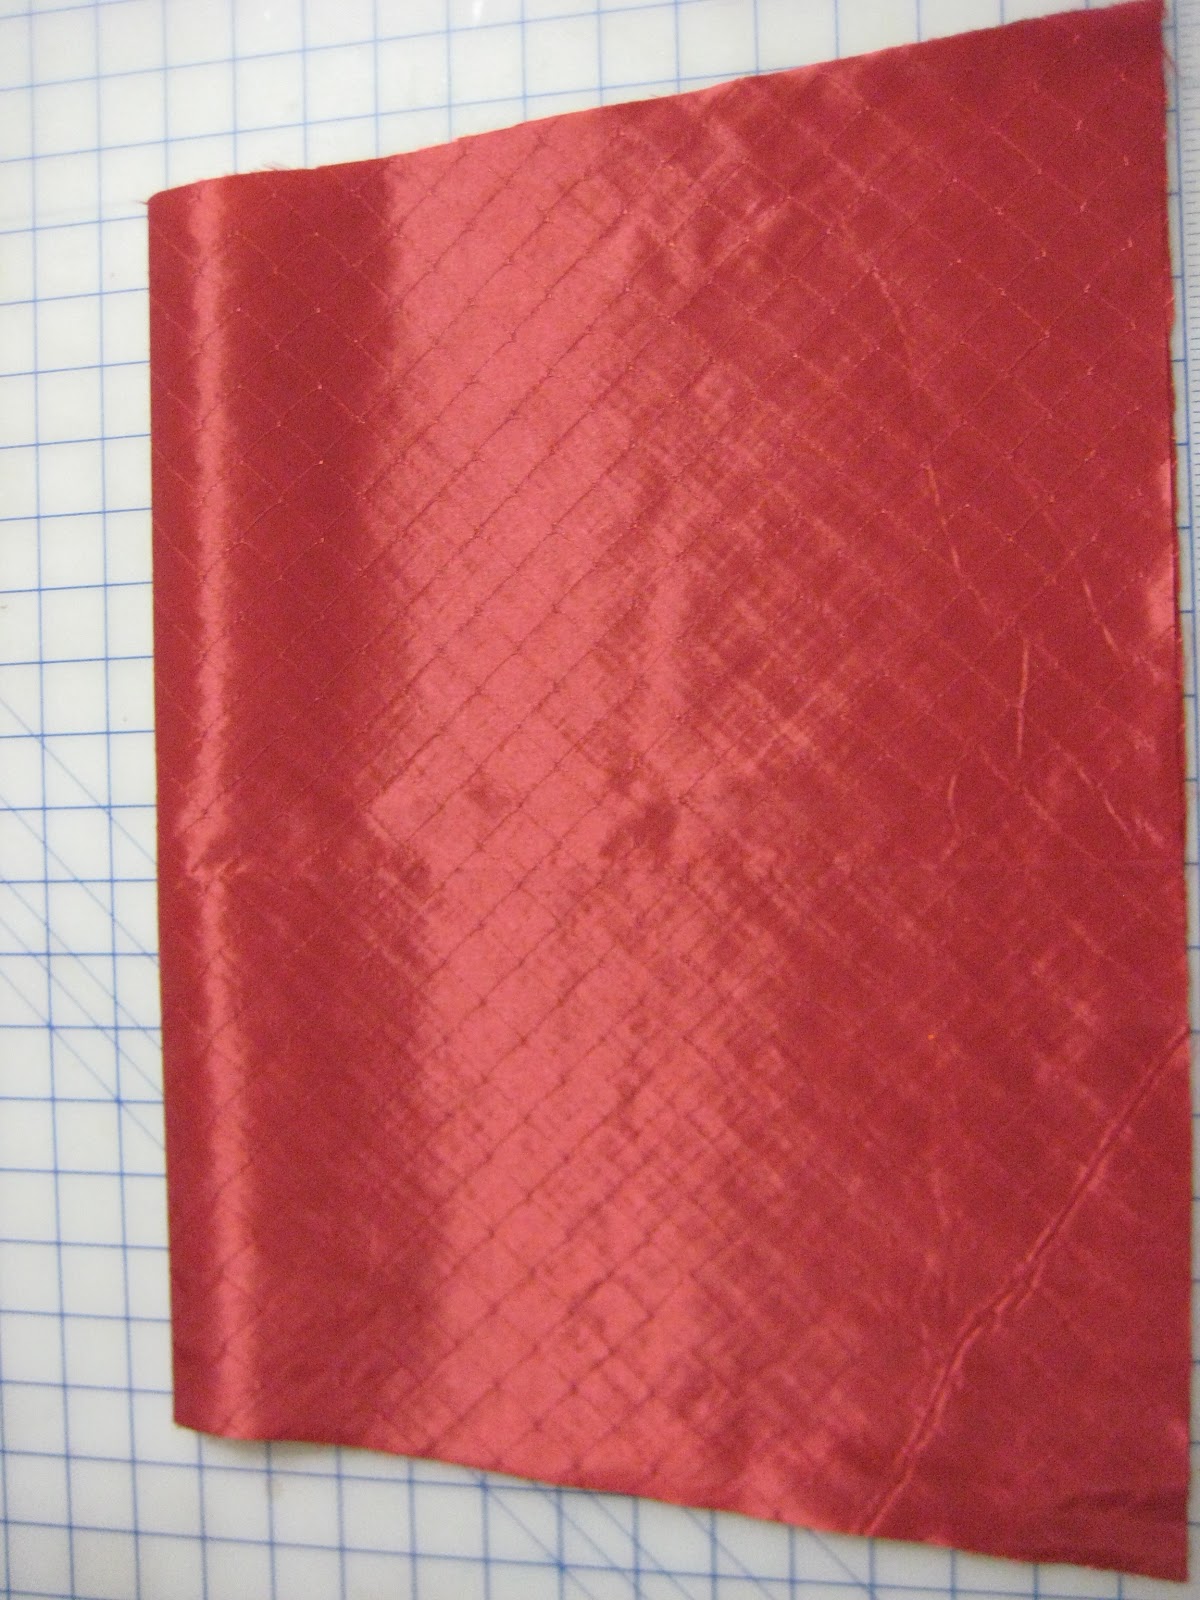
 Notice that the single layer of batting is 1/2" shorter on the sides and bottom, but is even with the top. That is because the top of the fabric was cut on the fold and will not have a seam allowance.
4. I serged the two sides using a 4-thread wide overlock seam with a stitch width of 2. This process sewed and trimmed the sides. I opened the placemats and pressed the side seams flat so that when I would turn the placemats right side out it would help me to get the "knife-edge" seam that I wanted.


5. I sewed the bottom seam with my sewing machine leaving about a 2" opening in the center of the bottom seam. I think sewing with the sewing machine is easier when leaving an opening and will leave a more even edge that that opening after turning the placemat right side out. Press the seam allowance flat as shown on the left. Place a piece of Steam-A-Seam 2 on the seam allowance and press. Being careful, turn the placemat right sides out. Check the opening to make sure the edge is straight with the entire bottom before pressing closed. Press the entire placemat well, making sure it has a "knife-edge" on all sides. Top-stitch 1/4" all around the placemat. Enjoy!

